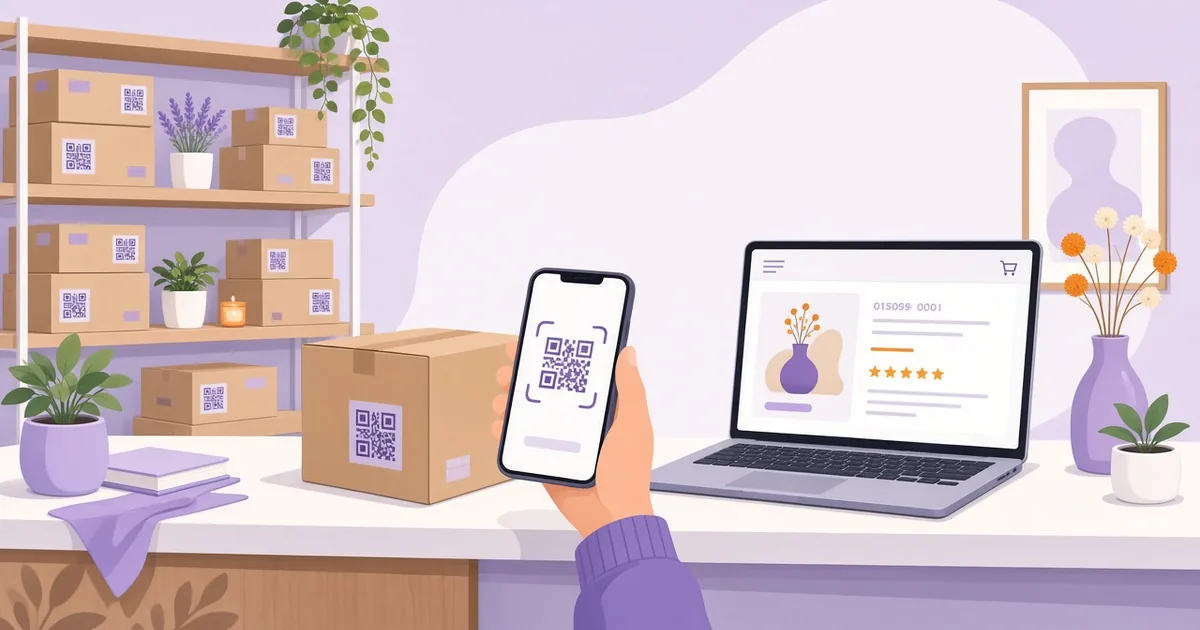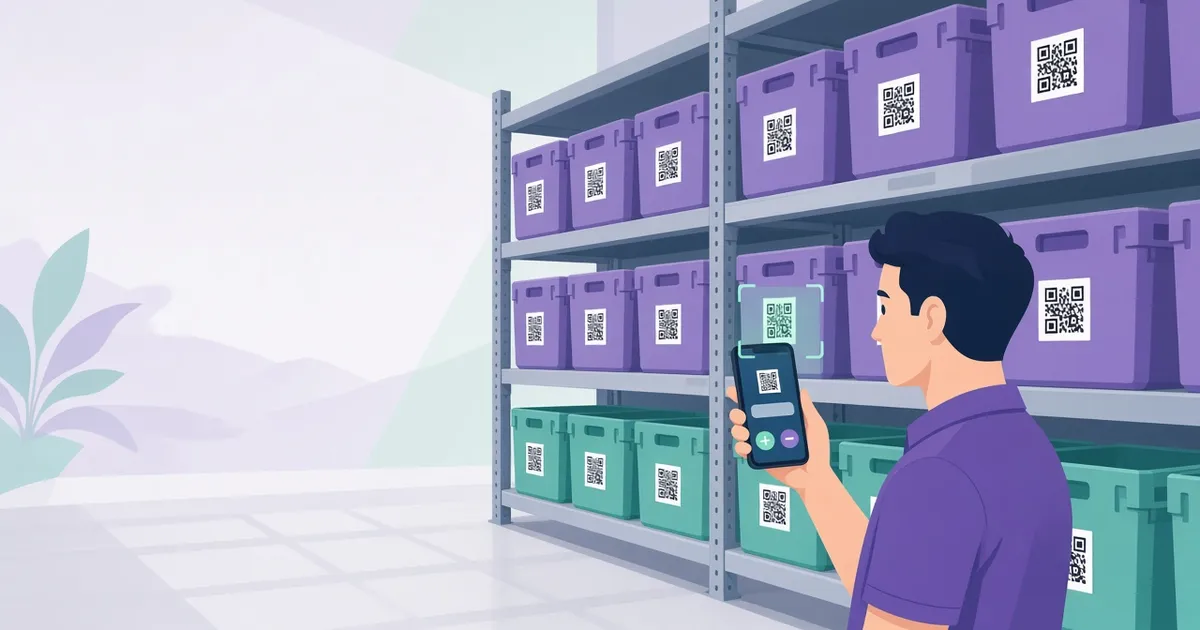
Short answer: With Scanventory you can print custom QR code labels for the inventory bins in your warehouse or stockroom. Each label carries the product's unique QR code, so staff walk the shelves with a phone or tablet, scan the bin, and increase or decrease WooCommerce stock right where the products actually are (Scanventory). No dedicated scanner hardware is needed: any phone or tablet that can scan QR codes works, with the Scanventory app or any QR code reader app.
Labeling every single item isn't always practical. Small parts, loose stock and items in bags are often easier to manage by the bin they live in. Here's how to use QR bin labels with WooCommerce.
Product labels vs bin labels
Scanventory generates a unique QR code for each product in your WooCommerce admin. The homepage puts it simply: stick the labels on products or bins, scan them with your phone or tablet, and edit the product on the spot (Scanventory).
So the difference is only where the label goes:
| Label on | Best for | What a scan opens | |---|---|---| | The product itself | Items you pick and ship one by one | That product, to edit stock | | The bin or shelf spot | Small parts, loose items, stock kept in boxes | The product stored in that bin, to edit stock |
A practical rule: one product (or one variation) per bin. If a bin mixes several products, a single QR code can't tell staff which one they're counting.
Why bin labels help in a stockroom
- Counts happen at the shelf. Staff scan the bin and correct the number while looking at what's actually there, instead of writing it down and typing it in later.
- Fewer labels to print. One label on the bin front can replace dozens of stickers on tiny items.
- Restocks are quicker. When a delivery arrives, scan the bin as you fill it and increase stock on the spot.
- Online and physical stock stay in sync. Every correction goes straight to WooCommerce, which helps you avoid overselling (Scanventory).
Scanventory lists stores with a stockroom or warehouse as a core use case: label bins and products, then do counts and restocks from your phone (Scanventory).
Step 1: Decide which products get a bin label
Walk your stockroom and note the products that are stored in bins, boxes or shelf slots rather than handled one by one. These are your bin-label candidates.
To print labels for just those products, select them on Products → All Products and choose the Bulk action Build labels. The Label Builder then uses Specific Products (Specific Product Labels). To label everything, choose All Products instead (Label Builder).
If a bin holds a single size or colour of a variable product, set Label For Variations to Yes so each variation gets its own QR code. See labels for WooCommerce variations.
Step 2: Make the label readable from the aisle
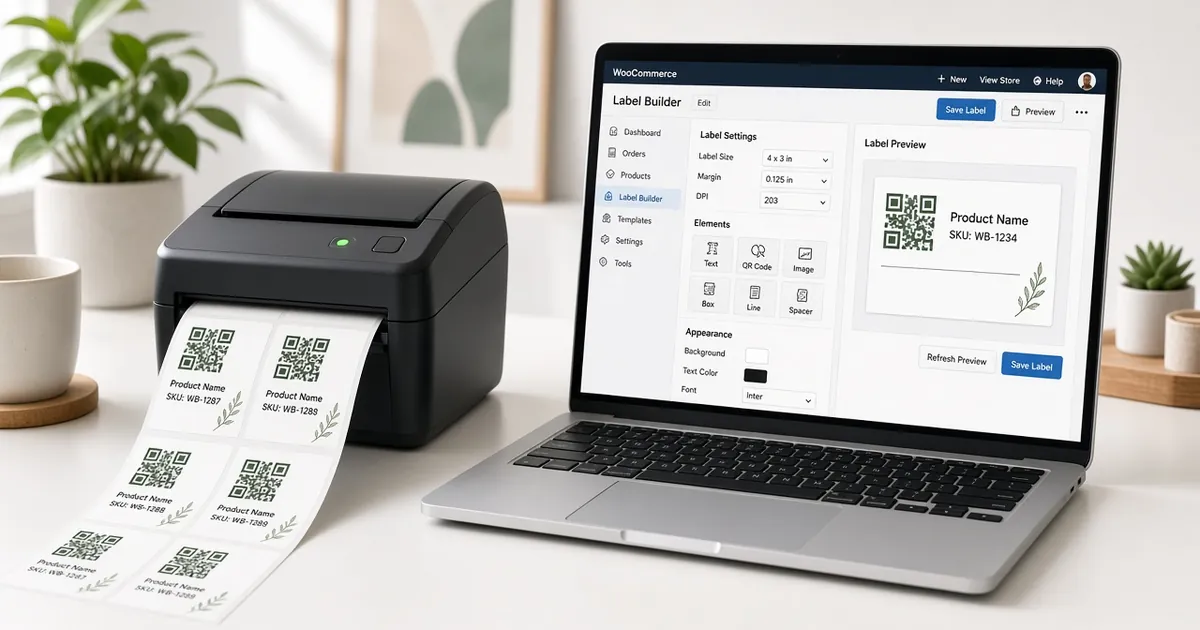
A bin label is read from further away than a product sticker, so give it a bit more room. In the Label Builder you can (Label Builder, Universal Options):
- Choose an Avery-compatible sheet, or Universal configurable to set your own label size in millimetres for any printer, including roll printers.
- Increase the QR code size (in mm) and the name font size under Content & Typography.
- Use Additional Label Info to add the price, all attributes or one specific attribute next to the product name and QR code.
- Check everything in the Live Preview before you click Build Labels.
Print at 100% scale, with no "fit to page" in the browser or printer settings (Universal Options). For roll and thermal printers, see how to set up a label printer for WooCommerce.
Step 3: Stick labels where they get scanned
A few habits that make bin labels last:
- Put the label on the bin front at a consistent height, so staff know where to aim the camera.
- Keep labels flat and clean. Curled or scuffed QR codes are harder for a phone camera to read.
- When a bin changes contents, replace the label. A stale label edits the wrong product.
Try Scanventory in your store
Print QR code labels from your WooCommerce admin and update stock from your phone.
Buy on WooCommerce.com$159/year · 30-day money-back guaranteeStep 4: Count and correct stock from the aisle
With labels in place, a count is a walk down the aisle: scan the bin, check the number on the product screen against what's in the bin, and increase or decrease stock right there (Scanventory). For a full walkthrough of a stock take, see how to do a WooCommerce inventory count.
If several people handle stock, the Activity Log keeps a history of stock changes made through Scanventory, so you can check who changed what. More on that in the WooCommerce stock change log.
Common questions
Do I need a warehouse barcode scanner for bin labels?
No. Scanventory works with any phone or tablet that can scan QR codes, using the Scanventory app or any QR code reader app (Scanventory).
Can Scanventory print EAN or UPC barcodes for bins?
No. Scanventory uses QR codes only; it doesn't generate EAN or UPC barcodes.
Does a bin label store a shelf location?
Each Scanventory QR code belongs to a product, and scanning it opens that product. The bin label works because the product's code sits where the product is stored. Keep one product per bin so each scan points to the right item.
Can I print bin labels on my existing label sheets?
Yes, as long as you can match the sheet. Pick a ready-made Avery-compatible format, or use Universal configurable to set the page size, grid, margins and label size yourself (Label Builder). The Start position option lets you reuse a partly used sheet.
Label your bins and count from the aisle
QR bin labels turn a stockroom count into a walk with a phone: scan the bin, fix the number, move on. Your WooCommerce stock follows what's really on the shelf. Buy Scanventory and label your first aisle this week.